
I'm kind of obsessed with mums right now. Not all types, mostly the really delicate, thin-petaled ones. This was brought on by the absolutely beautiful mum in the bouquet my mom brought to our house from a dinner they went to. It's been sitting on our dining room table for the last couple of weeks, and I absolutely love it.

I couldn't find a single tutorial for a paper mum, no matter how long I looked. So I decided it was time to just wing it, using several techniques from various other paper flower tutorials I've followed in the past. After posting a picture of my first finished product on Facebook, it was recommended that I write my own tutorial...so here we go! I'll be using book pages from the hardback book I made into a purse a few days ago, because, honestly, who doesn't love book pages?!

First, cut out the pages of the book using an razor. If you press hard enough, you can get through several pages at once. I cut out 10 pages.

Using a round object, trace a circle on each page. I used one of those small pyrex bowls, which then served double duty to hold my mod-podge for the next step. Cut out ten circles.

Using a foam brush, apply two layers of mod-podge on each side of each circle. Apply one layer to one side, allow to dry long enough that it isn't tacky anymore, apply a layer to the other side, and allow to dry enough that it won't stick to your work surface. Repeat on each side, for all ten circles. I allowed them to dry overnight, but a couple of hours would probably suffice.

Cut each layer into increasingly smaller circles, making each one about 1/4" smaller than the one before it. To make it super easy, I traced the circle I just cut onto one of the original-size circles, then cut just inside that line. Repeat for all 10 circles.

Next, you're going to cut each circle into a type of fringe (aka petals). Make sure not to cut in too far, or you will cut some of the fringe off. And definitely don't cut all the way through your circle...that would be sad.
To make the previous step easier, I folded the circle in half, gently creasing each end to mark the mid-points. I then cut up the line of each crease, approximately 1/2" from the center. Repeat so that you have cut the circle into quarters. Use those lines to guide the cuts you make to create the petals. Keep in mind that you don't have to make them perfect. Not being precise about it makes it look more natural.

Go around and round off the edges of each petal. Again, doesn't have to be perfect. The sharper the scissors, the easier all of these cutting steps will be.

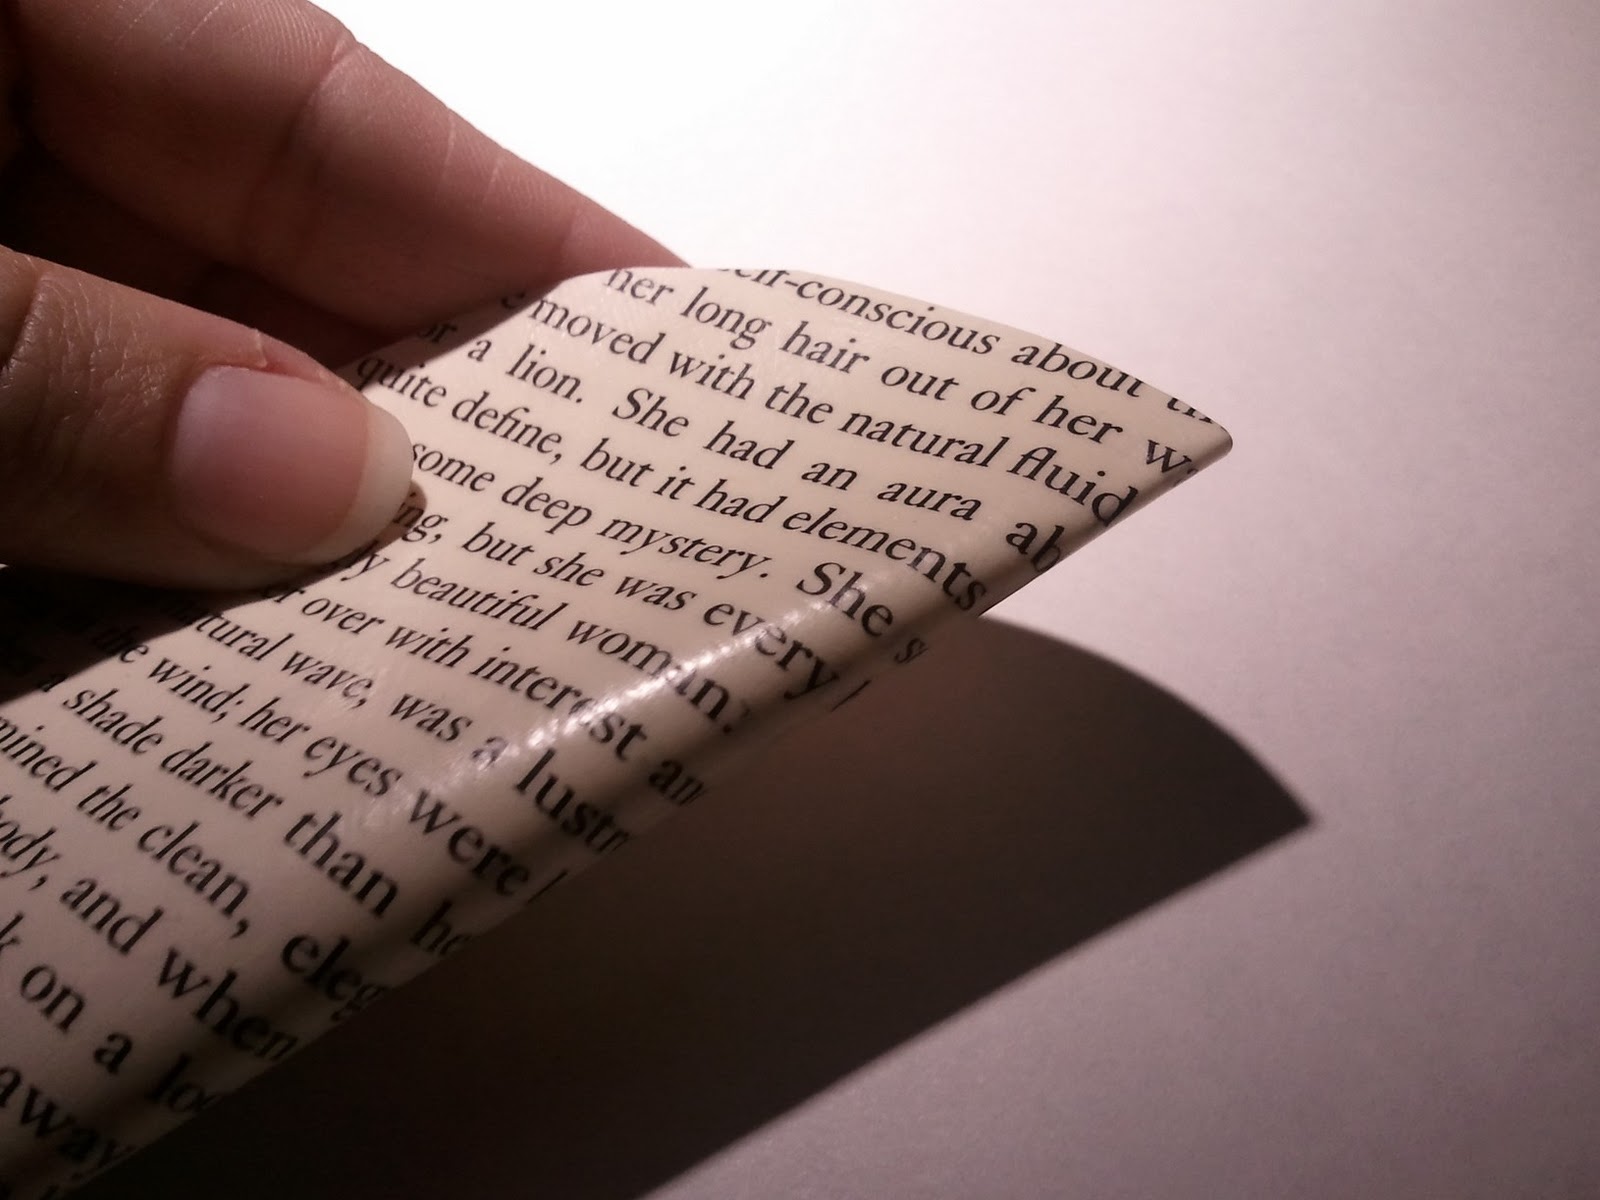
Pinching each petal between the pad of your pointer finger and your thumb nail, gently curl the petal upward. This is basically the same technique as when you curl ribbon with scissors, using your thumb nail as the "sharp" object. Don't pull or pinch too hard, or your curl will be too tight and/or you'll rip the petal off.

The finished circle should look like this. Repeat for each layer. If you've cut your circles correctly, the layers should nestle nicely. Place a small amount of hot glue in the center of each layer, then place the next layer on top, until all of your layers are assembled.
And here's your finished product!


At this point, you can play with how the various petals are laying to make it look more life-like. If you look at a real mum, the petals in the inner layers are really tight together, then they get further apart and slightly messier as you move out, until they get downright lazy on the outer layer. The first mum I made was using cardstock with only one layer of mod-podge, which worked just fine. The book paper, however, requires more layers of mod-podge to make it moldable because it's thinner.
Have fun and be creative!

